VSCode and Apache Airflow
Published Feb 20, 2023
Reading time 8 minutes
VSCode and Apache Airflow
In this short post, I wanted to highlight how you can use a VSCode plugin to work with a local running instance of Apache Airflow to improve the developer experience. This post was inspired by a tweet from Kaxil Naik who was asking about what features developers are looking for when using VSCode and Pycharm and Apache Airflow.
In this post I will show you how you can configure mwaa-local-runner, an open source project that provides you with an easy way to get a local Apache Airflow environment up and running (that is configuration wide, aligned to the Amazon Managed Workflows for Apache Airflow service MWAA), together with some VSCode plugins.
I will walk you through setting up mwaa-local-runner, including making a few changes that will enable the VSCode plugins to work. Once that is up and running, I will show you the VSCode plugins and how they work.
What you will need
You will need the following to get this up and running
- VSCode - I am running version 1.75.1 on my Mac
- mwaa-local-runner
- Port 8080 free on your local machine
- Docker and Docker-compose running on your local machine
Setting up mwaa-local-runner
mwaa-local-runner is a project that provides a configuration parity with the AWS MWAA managed service. It makes it super easy to get Apache Airflow up and running. You can also tailor this to suit your developer flow, and I made a few tweaks for my particular setup which I will share here.
First I clone the project locally:
git clone https://github.com/aws/aws-mwaa-local-runner.git
The first time you use mwaa-local-runner you need to build the image that will then be used every time you start mwaa-local-runner. Before we build this image however, I want to make a few changes.
Note! As you use mwaa-local-runner, every time you make changes to the Airflow configuration, you might need to re-build the image.
AWS Credentials
If you are going to be interacting with AWS services, then you will need to update the “.env.localrunner” file with your credentials. REMEMBER Never ever share this file or put it anywhere that anyone can see. Make sure you use credentials that have limited access to only those services you need on development environments.
Updates to the Airflow.cfg
I make a couple of changes to my airflow.cfg to be more responsive during the development/testing cycle, as well as also enabling the Airflow REST API.
The first update I make is to make Airflow pick up changes more quickly by updating the dag_dir_list_interval from the default of 5 minutes (300) to 5 seconds. This does put more load on your development machine, so play around and find out what is the best setting for yourself.
dag_dir_list_interval = 5
The next change I make is to enable the Airflow REST API. This is the configuration change I made:
#auth_backend = airflow.api.auth.backend.deny_all
auth_backend = airflow.api.auth.backend.basic_auth
Once I have made these updates, I can now build the mwaa-local-runner using the following command (making sure I am in the project root directory)
./mwaa-local-env build-image
Depending on your machine and your network, this might take 10-20 minutes to complete. Once completed, you can then start your local Apache Airflow environment.
Starting our local Apache Airflow environment
Before starting the local Apache Airflow environment, it is important to understand a couple of key directories that will be mounted into this environment and which you will use as part of your local development. If you look at the Docker compose file, you will see the following:
            - "${PWD}/dags:/usr/local/airflow/dags"
            - "${PWD}/plugins:/usr/local/airflow/plugins"
            - "${PWD}/requirements:/usr/local/airflow/requirements"
- dags - this folder is mounted from your local machine, and when you create and update your DAGs, they will appear in your mwaa-local-runner environment. When you check out the project, it comes with three example DAGs which you can remove if you need.
- plugins - as for DAGs, but this is where your plugins will reside
- requirements - if you need to add any dependencies, you will need to update the requirements.txt file within this folder.
In my environment I copy a single test DAG into the “dags” folder so I can make sure that everything is working.
Now that we know which local folders we can use to intereact with Apache Airflow, we can start mwaa-local-runner using the following command:
./mwaa-local-env start
You will notice that a number of Docker containers will now spin up to build your local Airflow environment. You should see the output of this in the terminal you ran the command, and if you have the Docker VSCode plugin, you will also see this appear here. After a few minutes, you should now have Airflow up and running on your localhost on port 8080. Try this out in your preferred browser. The default username and password for the project is admin/test, as documented in the project README.md.
Changing the default username and password! If you want to change the default, you can edit the /docker/script/entrypoint.sh file which is where this is configured.
We can also test that we can use the Airflow REST API by running the following script (here I am using the default credentials that mwaa-local-runner sets up, so if you change this update it to reflect your credentials)
curl --verbose 'http://localhost:8080/api/v1/dags' -H 'content-type: application/json' --user "admin:test"
I get the following output:
*   Trying ::1:8080...
* Connected to localhost (::1) port 8080 (#0)
* Server auth using Basic with user 'admin'
> GET /api/v1/dags HTTP/1.1
> Host: localhost:8080
> Authorization: Basic YWRtaW46dGVzdA==
> User-Agent: curl/7.71.1
> Accept: */*
> content-type: application/json
>
* Mark bundle as not supporting multiuse
< HTTP/1.1 200 OK
< Server: gunicorn
< Date: Mon, 20 Feb 2023 13:28:53 GMT
< Connection: close
< Content-Type: application/json
< Content-Length: 3471
< X-Frame-Options: DENY
< X-Robots-Tag: noindex, nofollow
<
{
  "dags": [
    {
      "dag_id": "dag_with_taskflow_api",
      "default_view": "grid",
      "description": null,
      "file_token": "Ii91c3IvbG9jYWwvYWlyZmxvdy9kYWdzL2V4YW1wbGVfZGFnX3dpdGhfdGFza2Zsb3dfYXBpLnB5Ig.S-NiinCLOAxFfZJxoFd5VmfErPs",
      "fileloc": "/usr/local/airflow/dags/example_dag_with_taskflow_api.py",
      "has_import_errors": false,
      "has_task_concurrency_limits": false,
      "is_active": true,
      "is_paused": false,
      "is_subdag": false,
      "last_expired": null,
      "last_parsed_time": "2023-02-20T13:28:40.407710+00:00",
      "last_pickled": null,
      "max_active_runs": 16,
      "max_active_tasks": 16,
      "next_dagrun": "2023-02-20T00:00:00+00:00",
      "next_dagrun_create_after": "2023-02-21T00:00:00+00:00",
      "next_dagrun_data_interval_end": "2023-02-21T00:00:00+00:00",
      "next_dagrun_data_interval_start": "2023-02-20T00:00:00+00:00",
      "owners": [
        "airflow"
      ],
      "pickle_id": null,
      "root_dag_id": null,
      "schedule_interval": {
        "__type": "CronExpression",
        "value": "@daily"
      },
      "scheduler_lock": null,
      "tags": [
        {
          "name": "example"
        }
      ],
      "timetable_description": "At 00:00"
    },
  "total_entries": 1
}
* Closing connection 0
Now that we have our local development environment up and running, we have a folder we know we can deploy to, lets see how VSCode plugins can make our life easier.
Configuring VSCode plugins
First plugin: Airflow
The Airflow Extension for Visual Studio Code from Necati Arslan, is a VSCode extension for Apache Airflow 2.0 and up. You can trigger your DAGs, pause/unpause DAGs, view execution logs, explore source code and do much more.
To find this, just search for Airflow in the VSCode extensions screen. This will bring back a number of different extensions, but the one you want will probably be the first that appears (it should say Necati ARSLAN). When you click on this, more information will be revealed on the right hand side. There should also be an INSTALL button which will help you install this plugin locally.
Note! I found that it would not install via the VSCode UI, so I downloaded the VSCode plugin file (NecatiARSLAN.airflow-vscode-extension-1.4.3.vsix) to my local machine, and then installed it via the command line using the following command:
code --install-extension NecatiARSLAN.airflow-vscode-extension-1.4.3.vsixThis then installed the plugin successfully.
Once installed, you should now have a new sidebar icon which has the Apache Airflow logo.
The first thing you are going to need to do is add a connection to your local environment. You can use the + icon to do this. It will ask you to enter the host URL and username and password. I entered “localhost:8080” and then “admin/test” as am using the defaults.
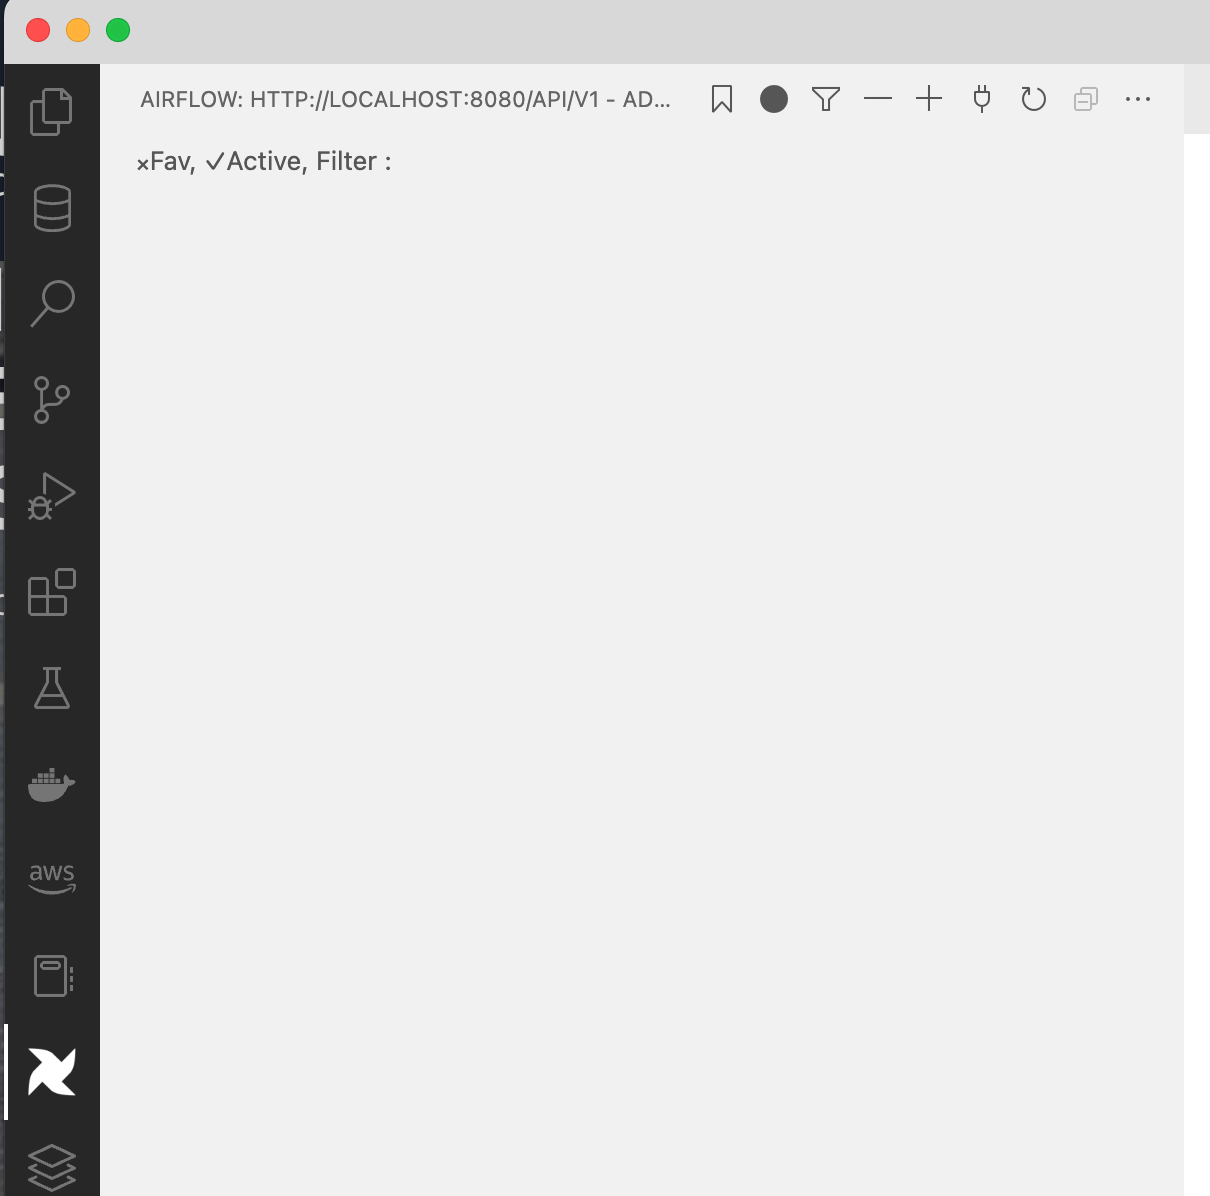
The first time I did this, I did not get any response. I did notice this in the logs:
aws-mwaa-local-runner-2_4-local-runner-1  | 172.22.0.1 - admin [20/Feb/2023:13:42:40 +0000] "GET /api/v1/importErrors HTTP/1.1" 200 48 "-" "node-fetch"
aws-mwaa-local-runner-2_4-local-runner-1  | 172.22.0.1 - admin [20/Feb/2023:13:42:40 +0000] "GET /api/v1/dags HTTP/1.1" 200 3471 "-" "node-fetch"
But I didn’t see my DAGs in the VSCode window. I eventually realised that I needed to click on the circle icon that appears to the left of the + icon. Once I did this, I could see my DAGs.
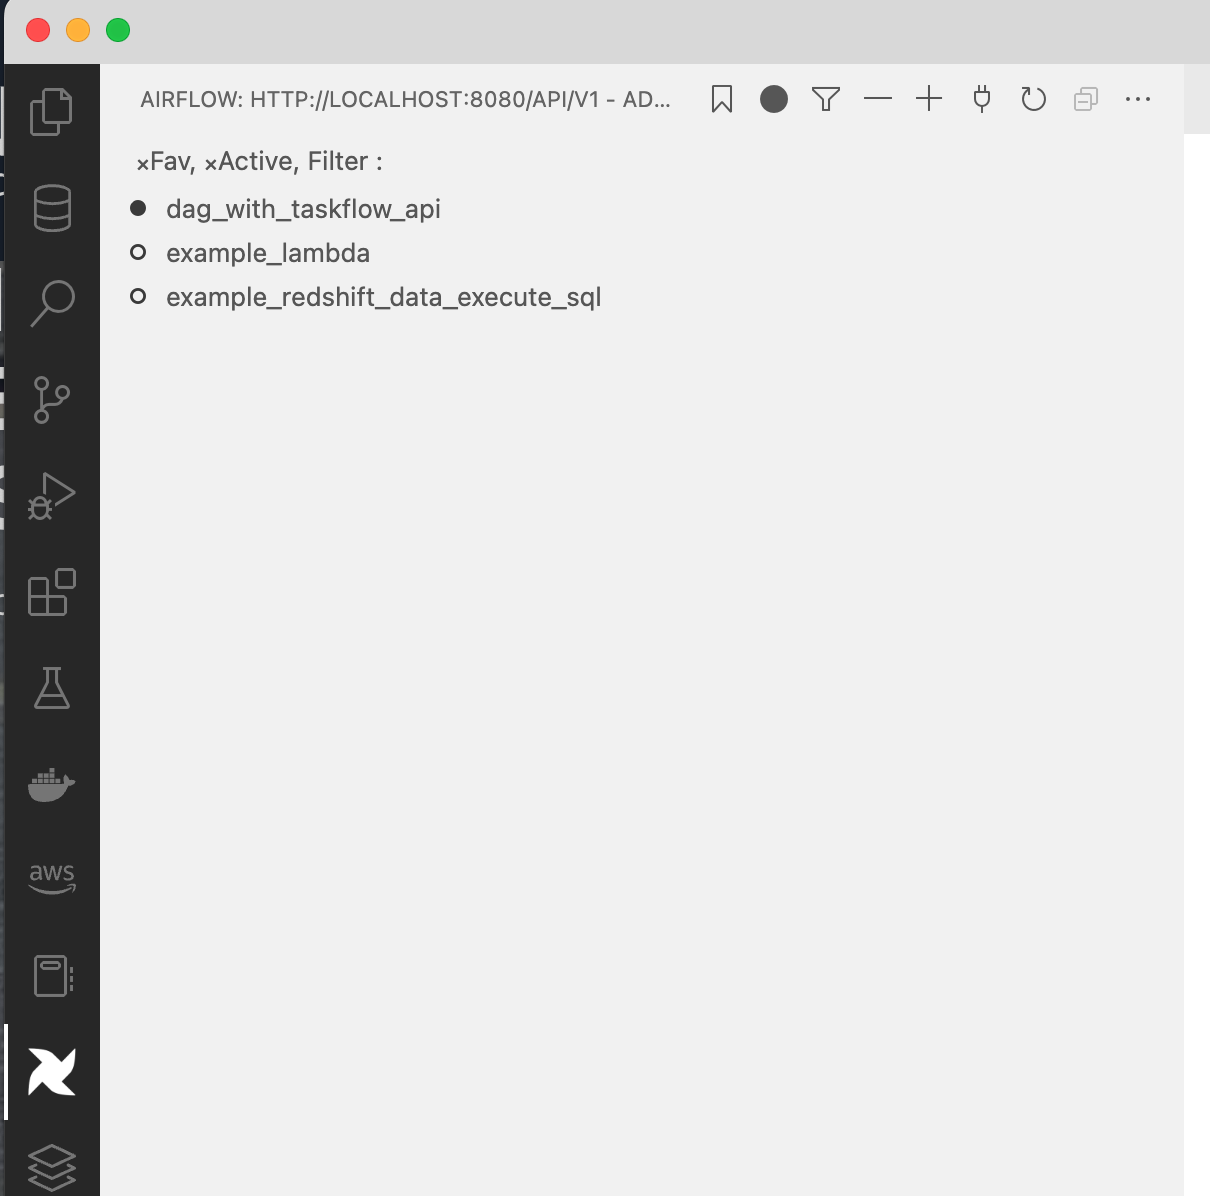
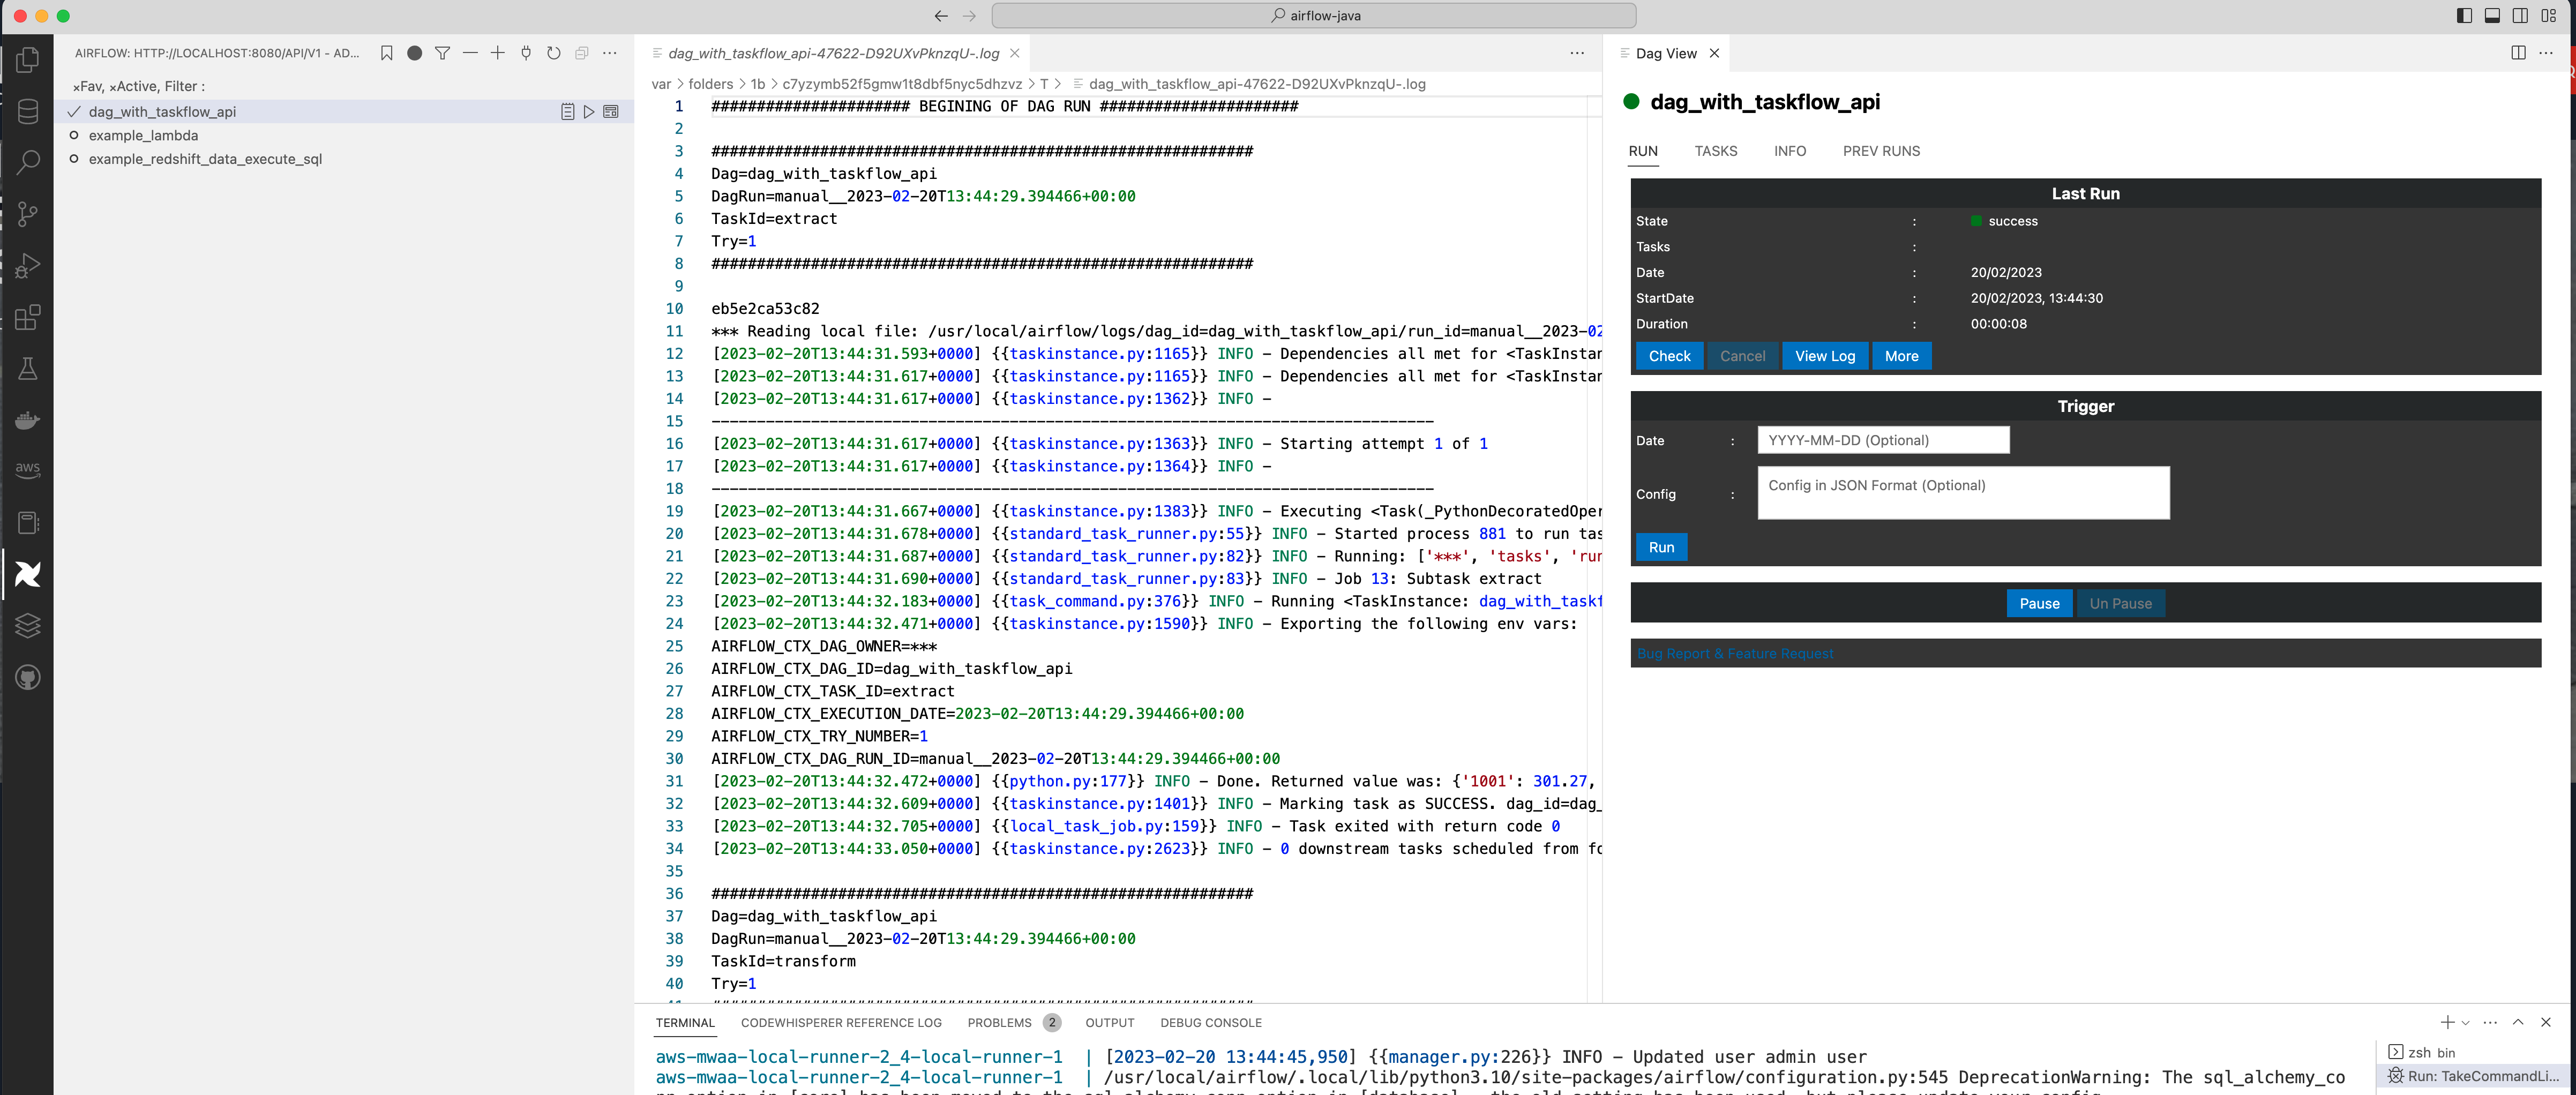
From here, I can now view the DAG, trigger it, view the logs and more.
From the VSCode window, for each DAG you can view the last log, you can trigger, or you can dive deeper and look at the actual information about the DAG - a window will appear in the VSCode UI.
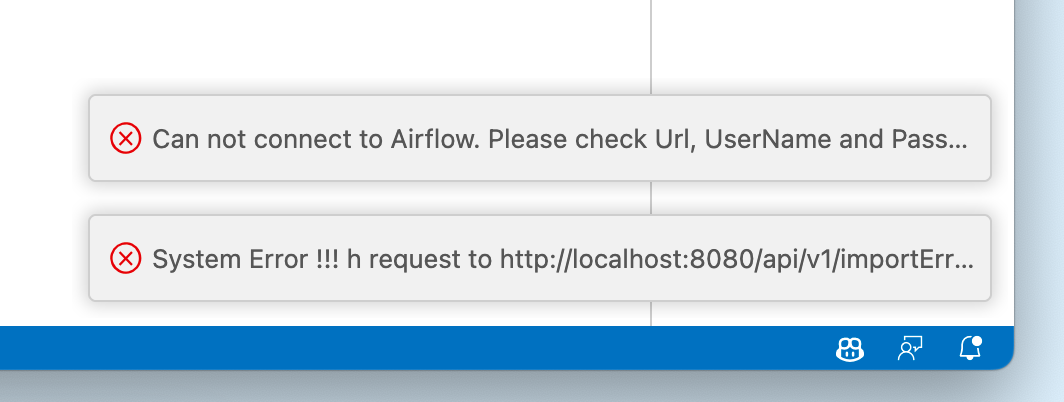
Note! If you see the following in the bottom right, check to make sure your mwaa-local-runner is up and running. I always use the browser to check I can get in and get to the Airflow UI.
Second plugin: Airflow Templates
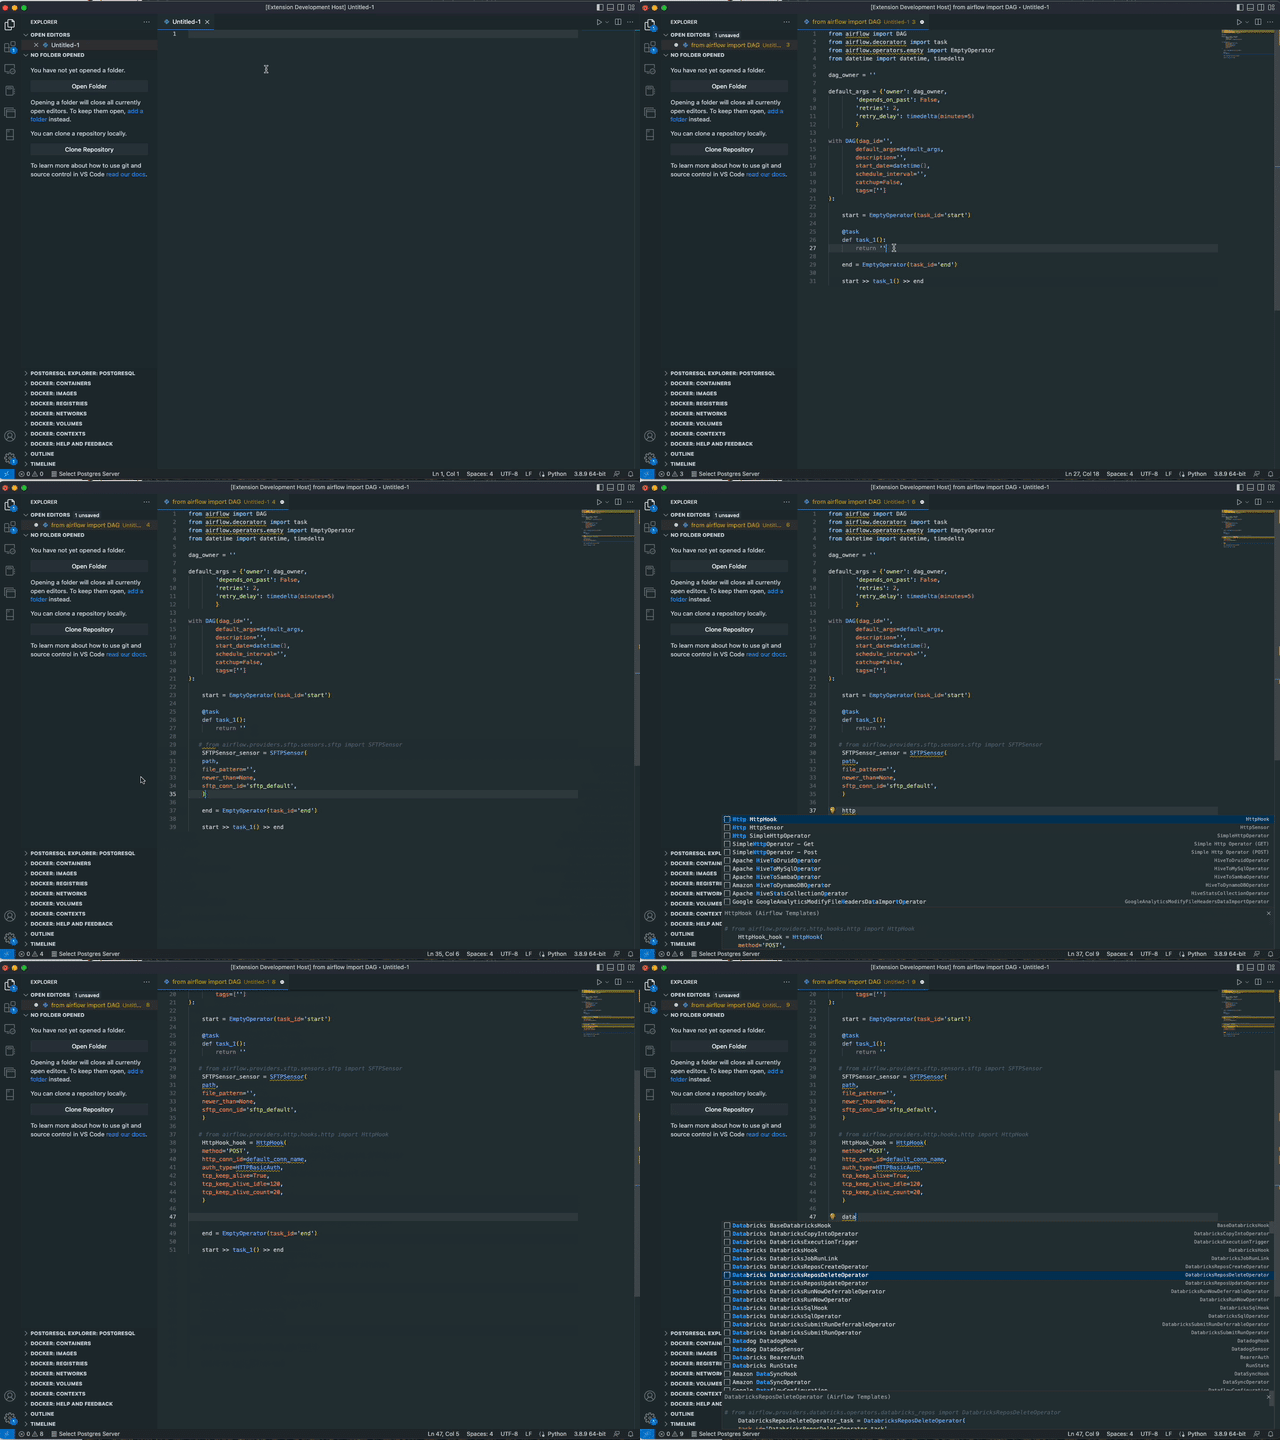
The Airflow Templates plugin provides code completion for all of the custom Airflow Providers operators.
Removing/disabling the plugins
You can easily disable these plugins by going to the extensions side bar and then selecting the Airflow extensions and then in the information page, selecting DISABLE. You can also use this same screen to uninstall the plugin if you find you are not using them.
Conclusion
There are a number of interesting plugins that you can use to help improve the development experience for writing and testing your workflows if you are a VSCode user. This post showed the two plugins I use, but there are others too. I will be covering in another post some other things I configure for my Apache Airflow local development environment, so keep an eye out for that post coming soon.
The authors are continuing to work on their plugin’s and you may be able to help and contribute (testing, writing documentation, fixing bugs, etc). If you find these useful, please be sure to let the authors of these plugin know.
Finally, what VSCode extensions do you use with Apache Airflow?
